A self-serve bay works best when you decide on the wash order before the timer starts. You don’t need every setting during every visit. You need the settings that match the dirt on your vehicle, used in a sequence that keeps loosened grime moving toward the floor.
The plan below fits a dusty daily driver, but you can shorten it for a light rinse or spend longer on wheels, bug residue, and lower panels after a highway trip.
Before the Timer Starts
Park near the center of the bay so the hose can reach the front, rear, and both sides without wrapping around the vehicle. Close every window, check the sunroof, fold in any loose antenna, and make sure the fuel door is secure. Set your payment method within reach.
Walk around the vehicle once. Look for three things that deserve extra time: heavy brake dust on the wheels, bug residue across the grille, and packed mud behind the tires. That 20-second check keeps you from discovering the worst area after the timer is nearly gone.
Rinse Away Loose Grit
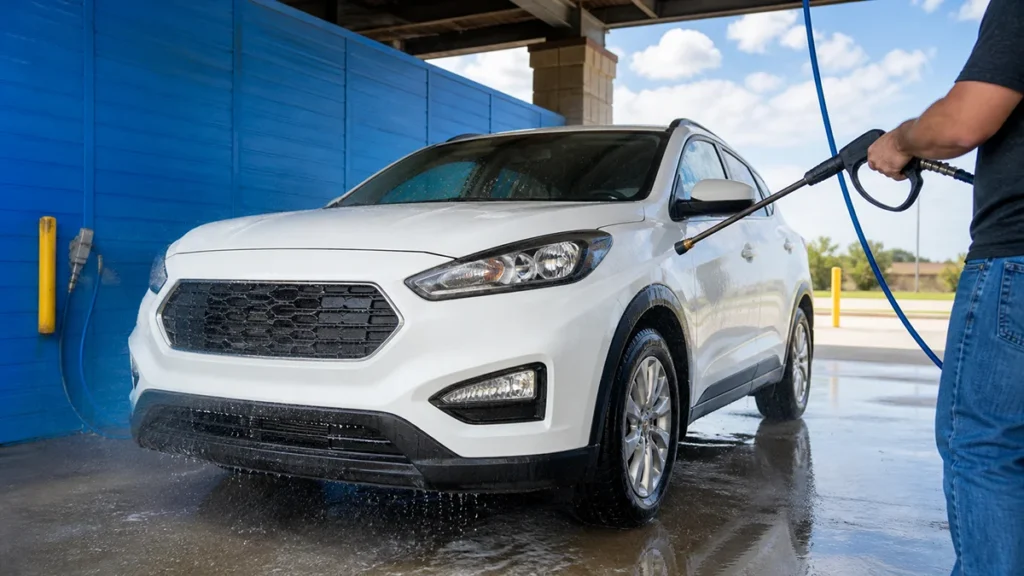
Start with a quick high-pressure rinse when the paint carries visible dust, sand, or dried mud. Hold the wand far enough away that the spray covers a useful area, then keep it moving. Begin at the roof and work downward through the glass, hood, doors, rear panels, and lower body.
Don’t aim concentrated pressure into window seals, damaged trim, loose paint, or electrical openings. If your owner’s manual gives special wash instructions for cameras, sensors, a convertible top, matte paint, or aftermarket parts, follow those directions first.
Handle Wheels Before Body Panels
Use the engine and tire cleaner only on compatible surfaces and only where the equipment directions allow. Wheels should be cool to the touch. Apply the cleaner, give it a brief chance to work, then rinse before it dries.
Save any brush contact with tires or wheels until after the body is finished. Brake dust and road grit shouldn’t travel from a wheel to a painted door. If a wheel still looks stained after a normal wash, repeated scrubbing may not be the answer. Some finishes need a wheel-specific product or professional attention.
Give Pre-Soak Time to Work
Pre-soak loosens the traffic film that plain water leaves behind. Apply it evenly to the lower doors, rocker panels, rear bumper, front fascia, and other dirty areas. Work from low sections upward so you can track your coverage without streaks hiding where you’ve already sprayed.
Let the product dwell briefly, but never let it dry. On a warm Round Rock afternoon, shorten the dwell time and move straight to high-pressure soap if a panel starts losing its wet sheen.
Wash From the Roof Down
Switch to high-pressure soap and make overlapping passes from the roof to the lower panels. Angle the spray so dirty water moves off an edge instead of being driven into a seam. Spend extra time on the rear hatch, license plate recess, wheel arches, and lower front bumper. Airflow pushes grime into those areas.
A white SUV with a dusty roof may need broad, steady passes. A dark sedan with bug residue across the nose needs slower work at the front, not the same amount of time on every door.
Use the Foam Brush Selectively
The foam brush is useful when a bonded film remains after pressure washing. Rinse the brush thoroughly before it touches your vehicle. Grit left in the bristles can drag across the finish.
Use plenty of foam and light pressure. Cover upper panels first, then move lower. Leave the wheels for last, or skip them with the body brush entirely. If the paint already looks right after soap and pressure, there’s no prize for adding another contact step.
Rinse Every Seam
Return to high-pressure rinse and start at the top. Follow the same route around the vehicle, but slow down near mirror housings, door handles, badges, roof rails, and the edge of the trunk or liftgate. Soap hides in those gaps and runs down later.
Check the lower door line before changing settings. If suds still trail from a seam, one more rinse pass is more useful than extra wax.
Choose One Protection Step
Triple foam conditioner, protective wax, and clear coat protection serve different preferences, but a routine wash doesn’t require stacking every option. Pick the finish that fits your goal and the equipment directions. Apply it evenly over rinsed paint.
For a quick maintenance visit, you might skip conditioner and use a protective finish. After a dirtier trip, you may prefer the fuller sequence. The main rule is simple: protection goes on after the grime and soap are gone.
Make Spot-Free Rinse the Final Pass
Finish with spot-free rinse from the roof down. Use broad overlapping passes, then don’t switch back to regular rinse water. After leaving the bay, a soft microfiber towel can catch trapped drops around mirrors, handles, emblems, and trim.
A Practical Bay-Time Example
- First 90 seconds for loose grit and wheel wells
- Next 90 seconds for wheel cleaner and pre-soak
- Next three minutes for high-pressure soap and selective brushing
- Next two minutes for a complete top-down rinse
- Final two minutes for protection and spot-free rinse
Treat that schedule as a planning example, not a race. A muddy truck may need more rinse time. A lightly dusty commuter may need less.
Use the Bay on Your Schedule
Brushy Creek Wash & Ride is open 24 hours at 3624 Hillside Drive in Round Rock. The bays accept cash, cards, mobile wallets, wash cards, fleet cards, loyalty cards, and QR payment, so you can build the wash around your vehicle instead of a preset package.